Over 60% of website migrations experience downtime or drops in search rankings. This is because website migration is one of the most challenging tasks in managing your online presence.
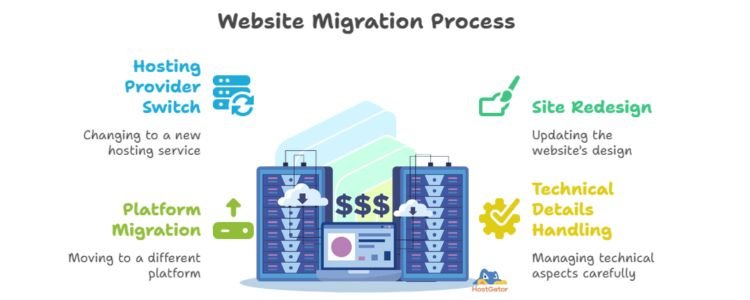
Whether you’re switching hosting providers, redesigning your site, or moving platforms, the process involves many technical details that must be handled carefully. Because mistakes can cost you a lot, which includes lost traffic and customers.
This guide breaks down the critical steps of website migration and highlights how to avoid common errors, helping you move your site confidently without losing visitors or rankings.
What Is Website Migration?
Website migration is basically the process of moving your website from one environment to another. It’s a significant move that changes where your site lives, how it’s built, or how users interact with it
This might involve relocating to a new hosting provider, upgrading to a more robust platform like WordPress, overhauling its design, or even just restructuring your URLs to better serve your SEO goals.
You could look at it as relocating your business to a new office with better infrastructure, security, and room to grow. This move requires careful planning to avoid disruption and protect your brand’s reputation.
More than just moving files or changing servers, website migration ensures your website continues to function properly, maintains its search engine rankings, and delivers a seamless experience for your visitors during and after the move.
There are several reasons why a business might need to migrate its website:
Improved Performance:
If your current hosting can’t handle traffic spikes or your site loads slowly, migrating can provide faster load times and better reliability.
Enhanced Security:
Older hosting environments or shared servers may expose your site to security risks. Migration allows you to upgrade to more secure infrastructure.
Scalability:
As your business grows, your website needs to support more visitors, content, and features. Migration helps you move to a setup that can scale with your needs.
SEO Improvements:
Migration is an opportunity to fix URL structures, improve site architecture, and implement technical SEO changes that can boost your search rankings.
How to Prepare Your Website for a Smooth Hosting Migration
Most website migrations fail due to inadequate preparation. Before moving a single file, you need a clear, detailed plan that safeguards your data, aligns your team, and prevents downtime during critical periods. Here’s how to prepare your website for a seamless migration:
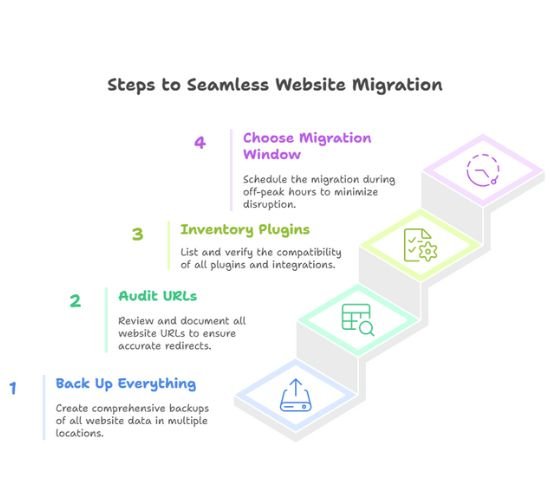
Back Up Everything
Before starting, create a complete backup of your website. This includes all files, databases, and email accounts. Store these backups in at least two separate locations, such as a local drive and a secure cloud service. This ensures you have a reliable fallback if anything goes wrong.
Audit Your Website URLs
Review your current URL structure thoroughly. Use tools like Screaming Frog or export your CMS sitemap to capture every page. This inventory is essential for setting up accurate redirects and avoiding broken links after migration.
Inventory Active Plugins, Integrations, and Custom Features
List all plugins, third-party integrations, and any custom code running on your site. Verify their compatibility with your new hosting environment or CMS. Identifying potential issues beforehand reduces the risk of functionality breaking post-migration.
Choose the Right Migration Window
Schedule your migration during off-peak hours—typically late at night or early morning in your target audience’s time zone. This minimizes disruption and reduces the impact on user experience and business operations.
Step-by-Step Guide to Migrating Your Website Hosting Without Downtime
To successfully carry out a website migration process and keep your site live throughout, here’s a roadmap to follow:
Step 1: Transfer Website Files and Databases
Begin by moving your website’s main components (its files and databases). For CMS platforms like WordPress, download all files from your public_html folder (or equivalent) and export your database using tools like phpMyAdmin.
Don’t forget important folders such as /wp-content/uploads/ that contain media and user files. Most hosting providers offer management tools like cPanel or FTP access to facilitate this process. Upload your files and import your database to the new hosting environment.
Step 2: Update Configuration Files
After uploading, update your website’s configuration files with the new database credentials. For WordPress, this means editing the wp-config.php file; for other platforms, it could be config.php, .env, or a custom file. Ensure the database name, username, password, and host reflect the new server settings. Missing this step can cause your site to display errors or fail to load.
Migration Scenarios and Specific Tips
a. How to Perform a cPanel to cPanel Migration
If both your old and new hosts use cPanel, this is the simplest method. Use the Full Backup feature in cPanel to create a backup of your entire account—including emails, cron jobs, and website files. Then, provide this backup to your new host for restoration. This method minimizes manual work and reduces errors. However, always verify your site after restoration to catch any issues.
b. How to Transfer Your WordPress Site to a New Hosting Provider
If your new host doesn’t offer one-click migration, use trusted plugins like All-in-One WP Migration, UpdraftPlus, or Duplicator. Export your site with the plugin, install it on the new host, and import the backup. After migration, update permalinks, check media files, and verify all plugins work correctly. Remember to disable caching plugins before migrating to avoid conflicts.
c. Updating DNS Settings and Managing Domain Changes
Once your website files are live on the new server, update your domain’s DNS settings to point to the new host. This usually involves changing nameservers or A records at your domain registrar (e.g., Namecheap). DNS propagation can take from a few minutes up to 48 hours globally. To avoid downtime, keep your old hosting active during this period so both versions run in parallel until the switch completes.
d. How to Create and Implement Effective URL Mapping
If your site structure or URLs are changing, map every old URL to its new counterpart using 301 redirects. Maintain a spreadsheet to track old and new URLs, then implement redirects via .htaccess (Apache), server configuration (NGINX), or WordPress plugins like Redirection. Proper redirects ensure visitors and search engines find the right pages, preserving your SEO rankings and traffic.
Step 3: Test and Troubleshoot
After migration and DNS updates, thoroughly test your website:
- Load multiple pages to check for errors
- Submit forms and test login/logout functions
- Verify media and interactive elements
- Check mobile responsiveness
- Measure load speeds
- Use tools like Google Search Console and website crawlers to find broken links or redirect loops
After it’s all done, have a colleague review the site as fresh eyes often catch issues you might miss.
Post-Migration SEO Checklist: Ensure Your Site Keeps Ranking
Your website is now live on the new host. Pages load correctly, forms work, and the homepage looks just as it should. But don’t call it a day just yet, because your SEO health needs immediate attention.
Google doesn’t care that you’ve moved your site. If links break, pages disappear, or redirects fail, it will notice and your rankings will suffer. Here’s how to safeguard your SEO after migration:
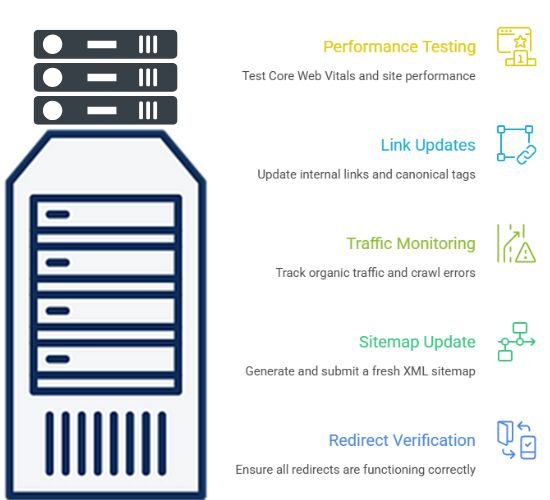
Verify All Redirects Are Working Properly
If you changed any URLs, 301 redirects must be in place. Don’t assume they’re working. Use tools like Screaming Frog or Ahrefs to crawl your site and confirm there are no broken links, redirect chains, or loops. Clean, direct redirects protect your SEO and user experience.
Update and Resubmit Your XML Sitemap
Generate a fresh sitemap reflecting your new site structure and submit it to Google Search Console. Remove old sitemaps if URLs have changed to avoid confusing search engines and slowing down indexing.
Monitor Traffic and Crawl Errors Closely
Use Google Analytics and Search Console to track organic traffic and identify crawl errors or indexing issues. Temporary dips are normal, but sustained drops signal problems that need fixing fast.
Update Internal Links and Canonical Tags
Ensure all internal links point to the correct new URLs, especially in menus, CTAs, and content. Check canonical tags to avoid duplicate content issues that can hurt rankings.
Test Core Web Vitals and Site Performance
Run PageSpeed Insights or Lighthouse reports to confirm your migration improved load times and user experience. Better performance boosts rankings and keeps visitors happy.
Bottom line here is, don’t treat SEO as an afterthought, it’s a critical part of your migration success. A thorough post-migration SEO check protects your search visibility, preserves user trust, and sets your site up for growth.
Common Mistakes to Avoid When Migrating Your Website Hosting
Website migrations involve many moving parts, and even small mistakes can lead to major problems. Here are the most common mistakes that can derail your migration and how to avoid them:
Skipping a Full Backup
Not backing up your website before migration is a critical error. Always create a complete backup of your files, databases, and email accounts and store copies in multiple locations. This backup is your safety net if anything goes wrong.
Underestimating DNS Propagation Time
DNS changes can take up to 48 hours to fully propagate worldwide. During this period, some visitors may see the old site, others the new one, and some might encounter errors. To avoid downtime, keep both your old and new hosting active for at least 48–72 hours.
Breaking URL Structures Without Proper Redirects
If you change URLs, folder structures, or page names, you must implement 301 redirects from old URLs to new ones. Without redirects, users hit dead ends, and search engines drop your rankings. Redirects are essential to preserve SEO equity and user experience.
Overlooking Email Migration
If your email is tied to your hosting, failing to migrate email accounts or update MX records can cause lost or delayed emails. Include email migration in your plan and verify email functionality after the move.
Assuming Everything Works Because the Site Loads
A site that loads doesn’t guarantee full functionality. Test all critical features—internal links, forms, mobile responsiveness, SSL certificates, and admin access. Hidden issues can harm user experience and SEO if left unchecked.
Ignoring SEO Best Practices
Neglecting SEO during migration can cause long-term damage. Avoid things like: Not mapping and implementing 301 redirects for all URLs. Or Allowing staging sites to be indexed by search engines. Or Forgetting to update title tags, meta descriptions, and canonical tags. Or even Failing to notify Google via Search Console’s Change of Address tool (if changing domains).
Regularly monitor crawl errors and traffic post-migration to catch and fix SEO issues early.
Bottom Line
Website migration is a strategic move that can unlock better performance, stronger security, and real SEO gains. But as you’ve seen, it’s not something you rush through with crossed fingers and a vague checklist.
You need a plan. From understanding why you’re migrating, to backing up your site, to avoiding the things that cause problems, each step matters.
And when it’s all done right, your users don’t notice a thing. But your load times improve. Your rankings hold steady or climb. And you walk away knowing your website is stronger than it was before.